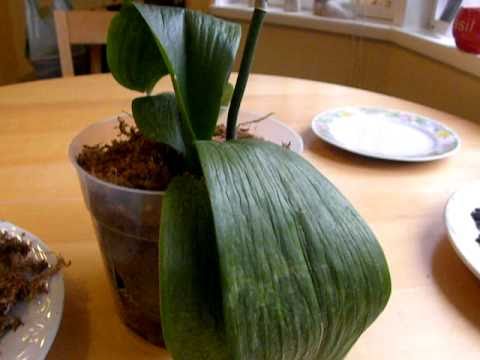
Over-watered and under-watered orchids show many of the same symptoms because the effect of both practices is the same – damaged or destroyed root systems, which result in a dehydrated orchid.
The signs of dehydration include the following:
- Pleated leaves;
- Excessively shriveled pseudobulbs;
- Droopy, soft, and puckered leaves;
- Yellow and wilted bottom leaves; and
- Bud blast (in which the buds fall off instead of opening).
To evaluate whether over- or under-watering has caused these symptoms, remove the orchid from its pot. Many beginner growers are reluctant to do this, but if you are careful, removing the orchid from its pot won’t disturb them and it’s an absolutely necessary procedure to see what is going on with the root system.
Follow these steps:
- Turn the orchid plant, in its pot, upside-down over a workbench or a table covered with clean newspaper to collect the potting medium that falls out.
- Gently rap a hard object (like the handle of a gardening tool) against the pot to loosen the potting medium.
- If the potting medium doesn’t loosen easily, use a thin knife to circle the inside of the pot to loosen the potting material from the wall of the pot.
- When the orchid is removed from the pot, check out the potting medium. Is it soggy? Does it have a bad (rotting) smell? Are the roots dark and mushy? These are all signs of over-watering.
If the roots are dry and shriveled, not stiff and plump, and have no or few growing root tips, the orchid probably hasn’t had enough water. The potting material may be too coarse, making poor contact with the roots; otherwise, you simply haven’t watered the orchid frequently enough.
- If the roots look okay or only slightly damaged, put the orchid back in it’s pot and fill up the potting medium.
If you have over-watered an orchid, you can take steps to save it. If the orchid still has some healthy, firm roots, you can salvage it by cutting off all the soft, mushy roots with sterile snips (use Trisodium Phosphate to sterilise your snips), dust the roots with Orchid Den’s Plant Germinator and repot the orchid in new potting material. Go light on the watering for a few weeks to encourage new root development. Using a spray bottle like our Flit Sprayer, mist the orchids a few times a day to prevent the leaves from drying out.
If the roots are almost all gone, take these emergency measures but know that recovery is not assured:
- Cut off all the dead or damaged roots.
- Soak the orchid roots in a bucket of water for about an hour.
- Dust the roots with Orchid Den’s Plant Germinator, then repot the orchid in fresh potting material that has been soaked before use.
- Don’t water for a day or two.
- Water once, and then put the potted orchid in a location with diffused light and preferably high humidity. In a greenhouse, this would be a shady spot with no direct sunlight.
Spray the leaves with your Flit Sprayer to keep the humidity up so that the leaves won’t dehydrate, so there will be no stress on the orchid while it reroots. Water the potting material only when it gets dry. Recovery may take a few months.

